Table of Contents
Preset Styles
A description of PicturesToExe's built in preset styles.
General Information
If images are “dragged” into the Slide List or are added via a right click and “Add…” command they are automatically assigned an “Index Number” which is essential for applying a Style. Images added to slides in Objects and Animation are not automatically assigned an Index Number.
Images are refer to in the descriptions - these can also be video clips.
In all cases read the information in the “Slide Style” window. As well as a preview of the applied Style you are told if you have selected too few/many images.
The Speed and Full Duration controls allow for adjustment of the Duration of the Applied Style. If the Full Duration is shortened then the speed of the animation is increased (and vice versa).
New “Categories” or “User Folders” can be made during the (TOOLS) CREATE a Style process by Typing a new folder name into the Category Box
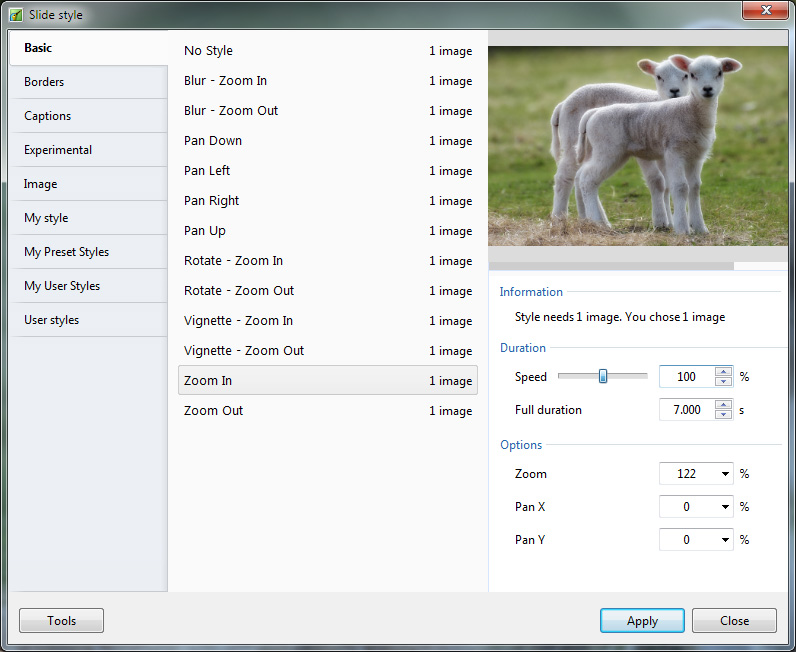
Basic Styles
Blur - Zoom In
Uses a Custom Transition called “Dissolving with Blur”. Zooms from 100% to 122%.
Blur - Zoom Out
Uses a Custom Transition called “Dissolving with Blur”. Zooms from 122% to 100%.
Pan Down
Sets a 110% Zoom and pans the image down by shifting the Centre Control in the Animation Tab
Pan Left
Sets a 122% Zoom and pans the image left by shifting the Centre Control in the Animation Tab
Pan Right
Sets a 122% Zoom and pans the image right by shifting the Centre Control in the Animation Tab
Pan Up
Sets a 110% Zoom and pans the image up by shifting the Centre Control in the Animation Tab
Rotate - Zoom In
Zooms in to 122% and Rotates 4 degrees using the controls in the Animation Tab
Rotate - Zoom Out
Zooms from 122% to 100% and Rotates from 4 degrees to zero using the controls in the Animation Tab
Vignette - Zoom In
Adds a circular soft edged mask to create the background coloured vignette and Zooms from 100% to 122%. Optimised for a 4:3 aspect ratio.
Vignette - Zoom Out
Adds a circular soft edged mask to create the background coloured vignette and Zooms from 122% to 100%. Optimised for a 4:3 aspect ratio.
Zoom In
A simple zoom from 100% to 122% using the zoom control in the Animation Tab
Zoom Out
A simple zoom from 122% to 100% using the zoom control in the Animation Tab
Borders
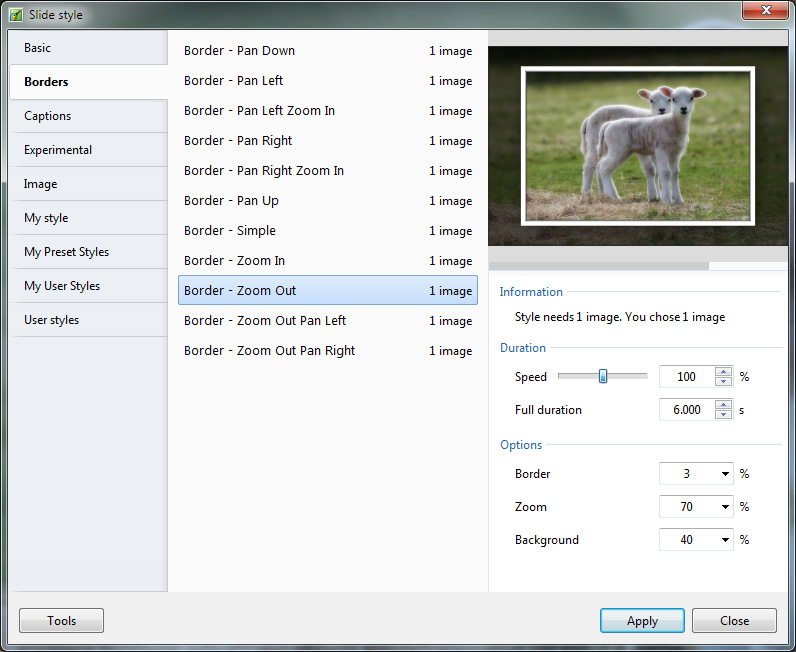
All variations have the controls available for Border Size, Image Size (Zoom) and Background Image Opacity.
Border - Pan Down
Uses the Border control in Adjust Image and Border. Uses a combination of Rotate X and Pan Z in 3D Parameters to obtain the effect. The main image is also used as a background image.
Border - Pan Left
Uses the Border control in Adjust Image and Border. Uses a combination of Rotate Y and Pan Z in 3D Parameters to obtain the effect. The main image is also used as a background image.
Border - Pan Left Zoom In
Uses the Border control in Adjust Image and Border. Uses the Pan and Zoom Control in the Animation Tab to create the Pan and Zoom effect.
Border - Pan Right
Uses the Border control in Adjust Image and Border. Uses a combination of Rotate Y and Pan Z in 3D Parameters to obtain the effect. The main image is also used as a background image.
Border - Pan Right Zoom In
Uses the Border control in Adjust Image and Border. Uses the Pan and Zoom Control in the Animation Tab to create the Pan and Zoom effect.
Border - Pan up
Uses the Border control in Adjust Image and Border. Uses a combination of Rotate X and Pan Z in 3D Parameters to obtain the effect. The main image is also used as a background image.
Border - Simple
Uses the Border control in Adjust Image and Border.
Border - Zoom In
Uses the Border control in Adjust Image and Border. Uses the Zoom Control in the Animation Tab to obtain the effect
Border - Zoom Out
Uses the Border control in Adjust Image and Border. Uses the Zoom Control in the Animation Tab to obtain the effect
Border - Zoom Out Pan Left
Frame 1 controls the Zoom and the Pan. The Main Image is faded via the Opacity setting in the Animation Tab. The main image is also used as a background image.
Border - Zoom Out Pan Right
Frame 1 controls the Zoom and the Pan. The Main Image is faded via the Opacity setting in the Animation Tab. The main image is also used as a background image.
Captions
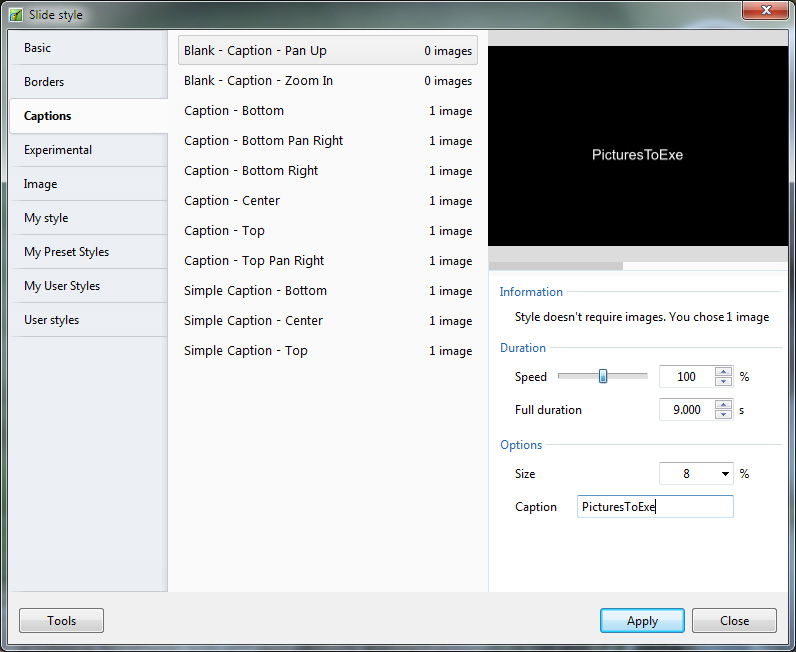
The first two styles create Blank Slides with Captions. All other styles in this category require a single image to be selected in the slide list before applying the style.
Caption - Pan Up
Apply to a Blank Slide - Caption Fades while panning upwards. Options are Size of Text Comment and the Caption Text.
Caption - Zoom In
Apply to a Blank Slide - Caption Fades while Zooming In. Options are Zoom % Size for Start and End and the Caption Text.
Caption Bottom
Style needs a single image. Main Image Zooms from 122% to 100%. A Frame shadow is added to the bottom of the slide (Properties Tab). Text fades in and out. Options are Zoom % for Main Image and the Caption Text.
Experimental
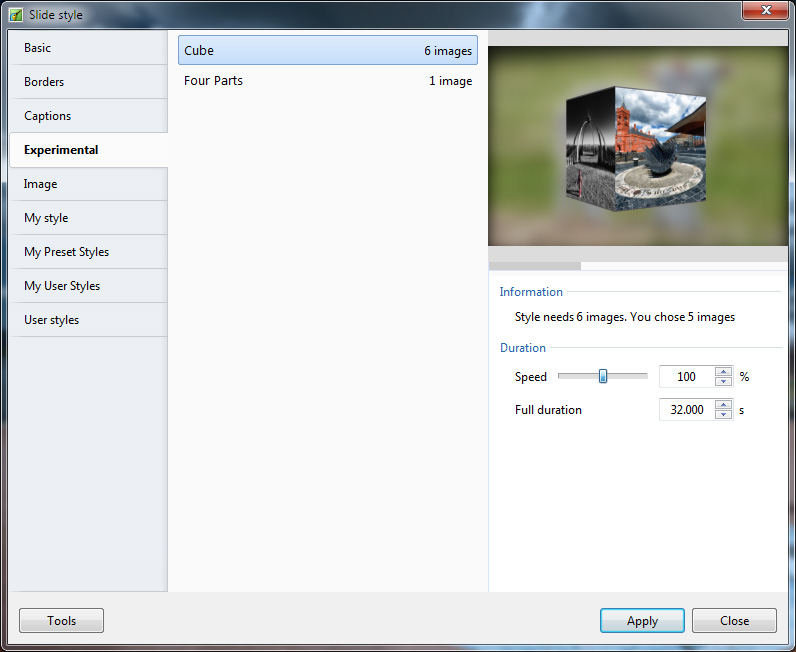
Cube
Add 6 images to the Slide List. Any Aspect Ratio can be used for the original images. The first image added to the Slide List is used as a blurred background image in the applied style.
The applied Style creates a Cube from the six images. Each of the six images has the “Adjust Image and Border / Crop” Tool added to crop to the 1:1 Aspect Ratio. If an aspect ratio other than 1:1 is used for the original images then the centre portion of that image appears in the cube.
After applying the Style the crop is adjustable using the “Offset X/Y” and Zoom can be applied using the “Scale” control.
The “Adjust Image and Border / Border” control can be used to apply a border around the cropped image. The colour and width of the border are adjustable.
Four Parts
Add one image to the Slide List. Four instances of the Main Image are used to create the Four Parts via the “Adjust Image and Border / Canvas” Tool. The (blurred) Four Parts are then brought together to form the complete image which is reduced in size and displayed (slightly rotated) over a blurred, larger than full size (100%) background version. Uses the “3D Parameters” Control to acheive the “swivelling” of the Frame.
Image
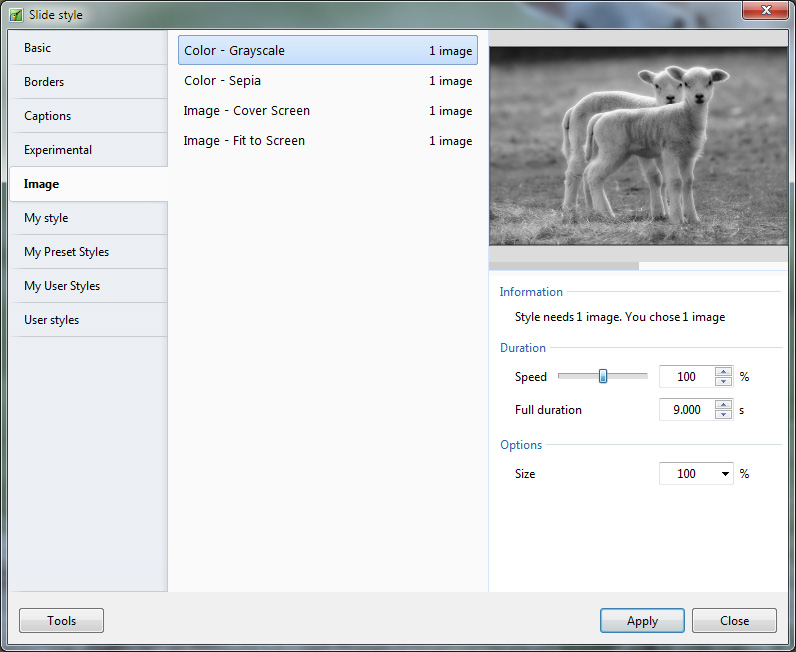
Color - Grayscale
Converts the Image to Grayscale using the “Color Adjustment” Tool in Objects and Animation / Animation Tab. Option is Size of Image in %.
Color - Sepia
Converts the Image to Sepia Tone using the “Color Adjustment” Tool in Objects and Animation / Animation Tab. Option is Size of Image in %.
Image - Cover Screen
Converts an Image(s) which has a different aspect ratio to the Project aspect ratio to cover the screen with no background color showing. Multi selection will convert multiple slides. Use with slides containing a Single Main Image.
Image - Fit to Screen
Converts an image to Fit to the Width or the Height of the Project. If the aspect ratio of the Image differs from the Project Aspect Ratio then the Background color will show. Use with slides containing a Single Main Image.
