This is an old revision of the document!
Table of Contents
Add a Mask Object
To add a Mask Object you can:
- Click on the “M” Icon at the top right hand side of the Objects and Animation Screen
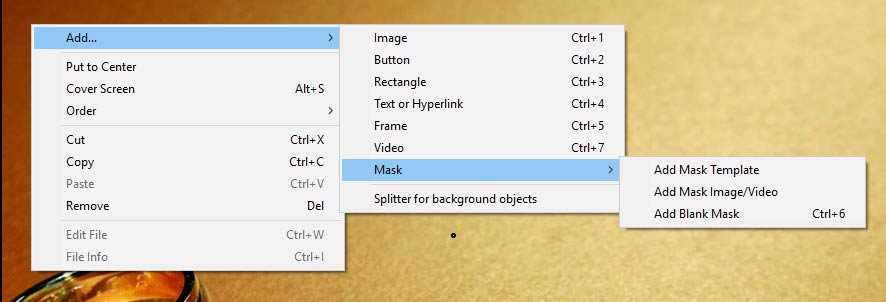
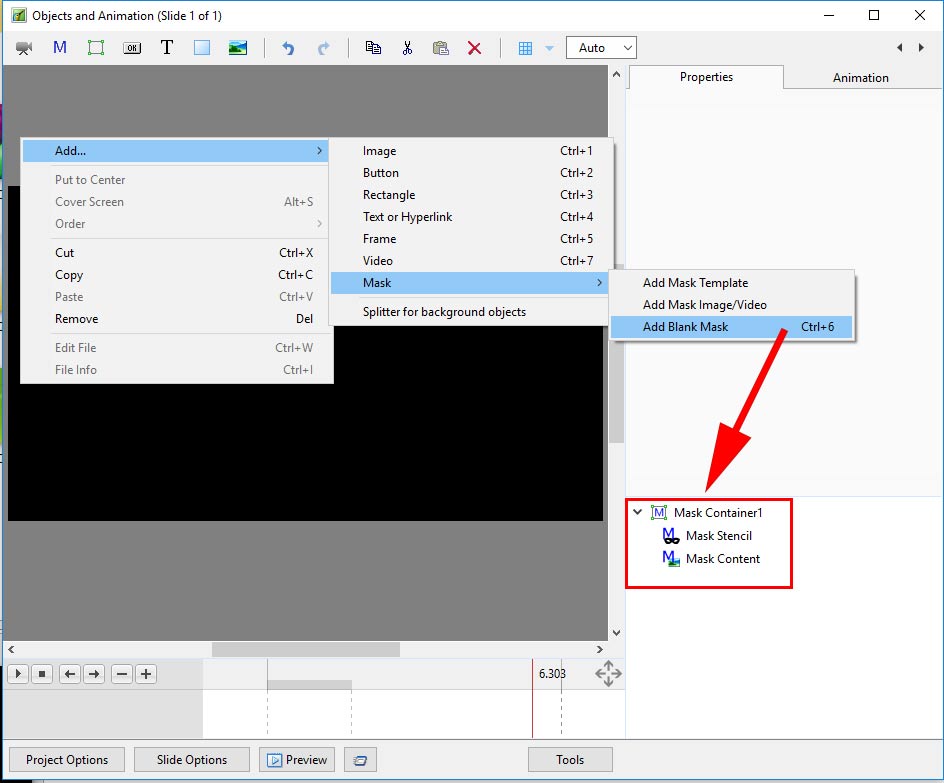
- Right Click in the Object Panel or Main Screen in Objects and Animation and choose to “Add a Mask”
You are offered three alternatives
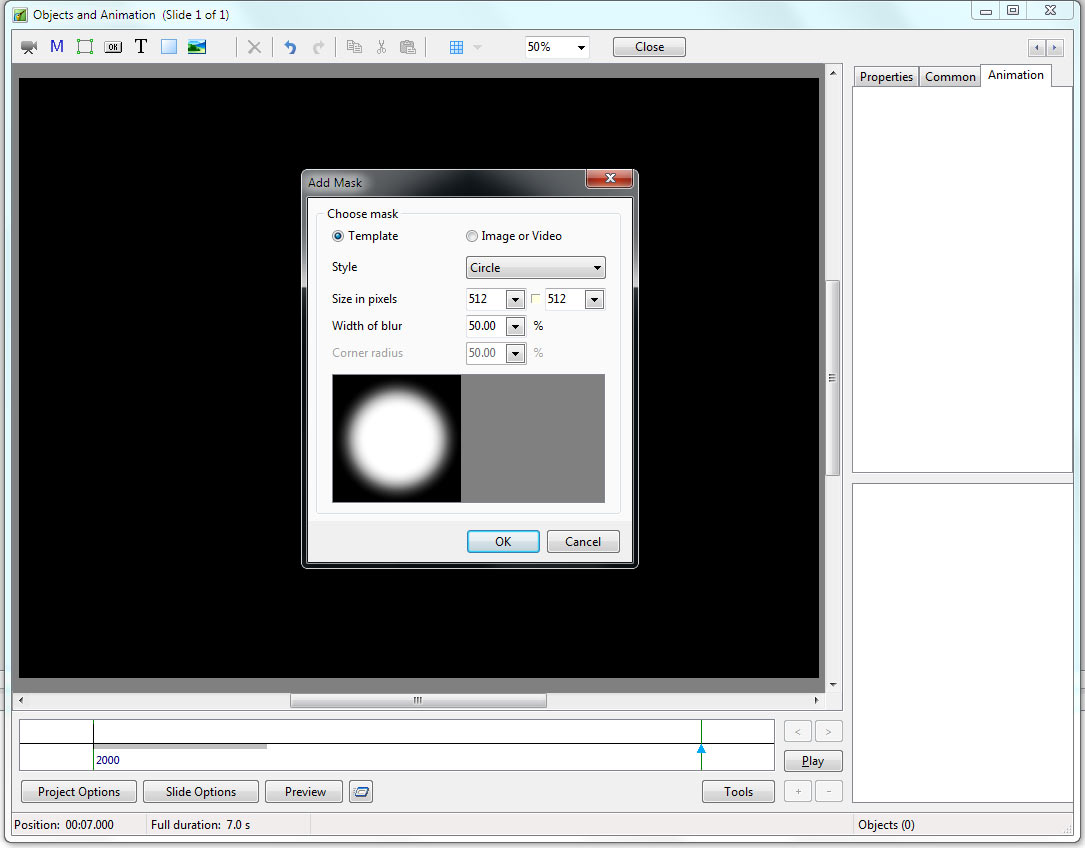
Add a Mask Template
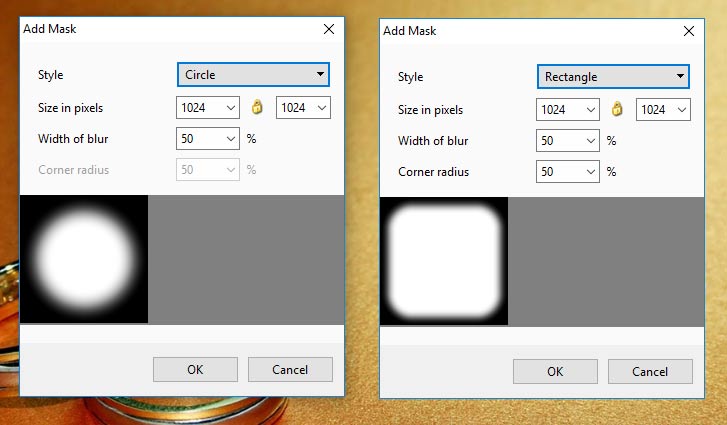
- Choose from Circle or Rectangle
- Click OK to add the Mask to the Object Panel
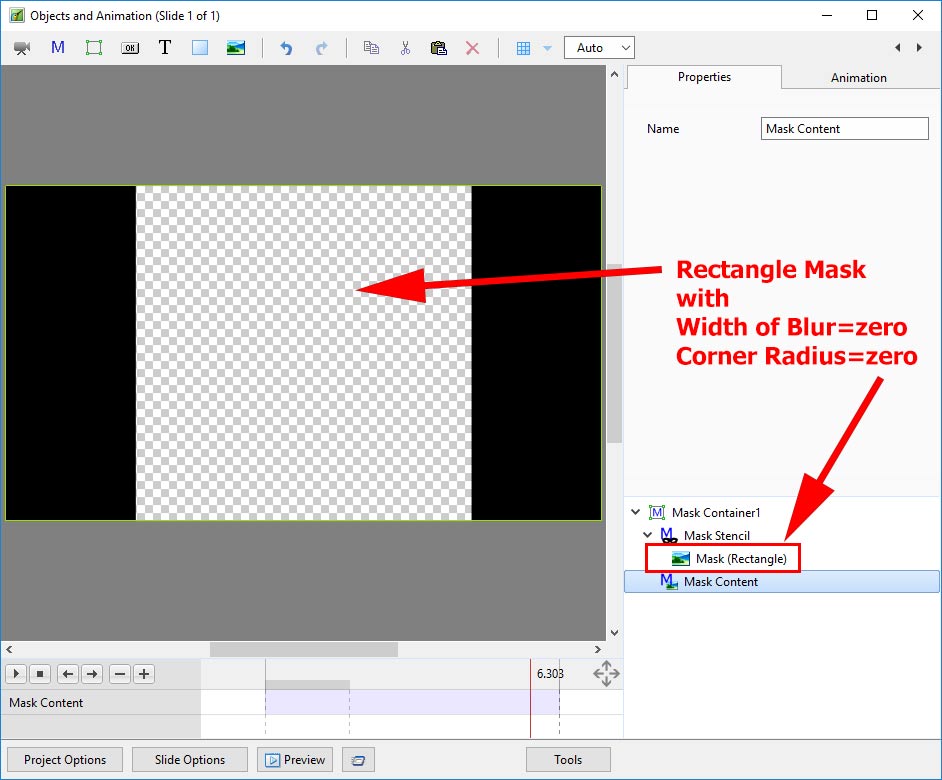
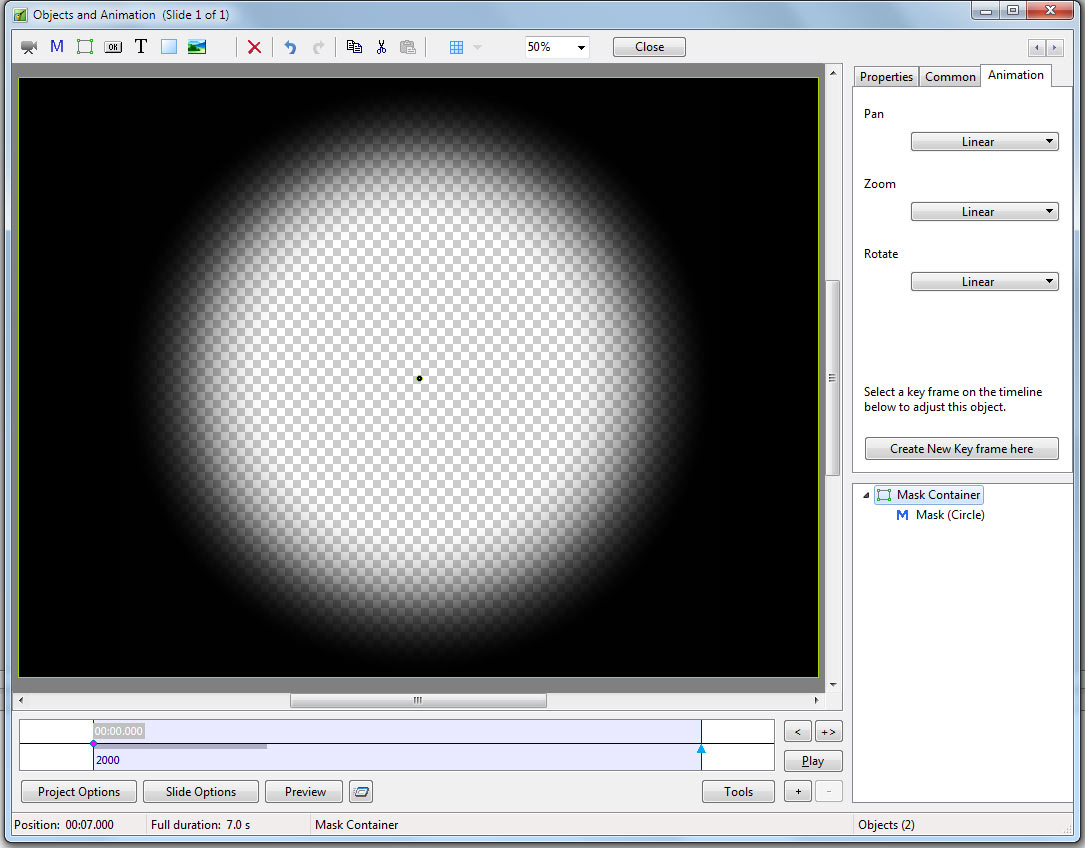
- A Rectangle Mask is added to the Mask Stencil
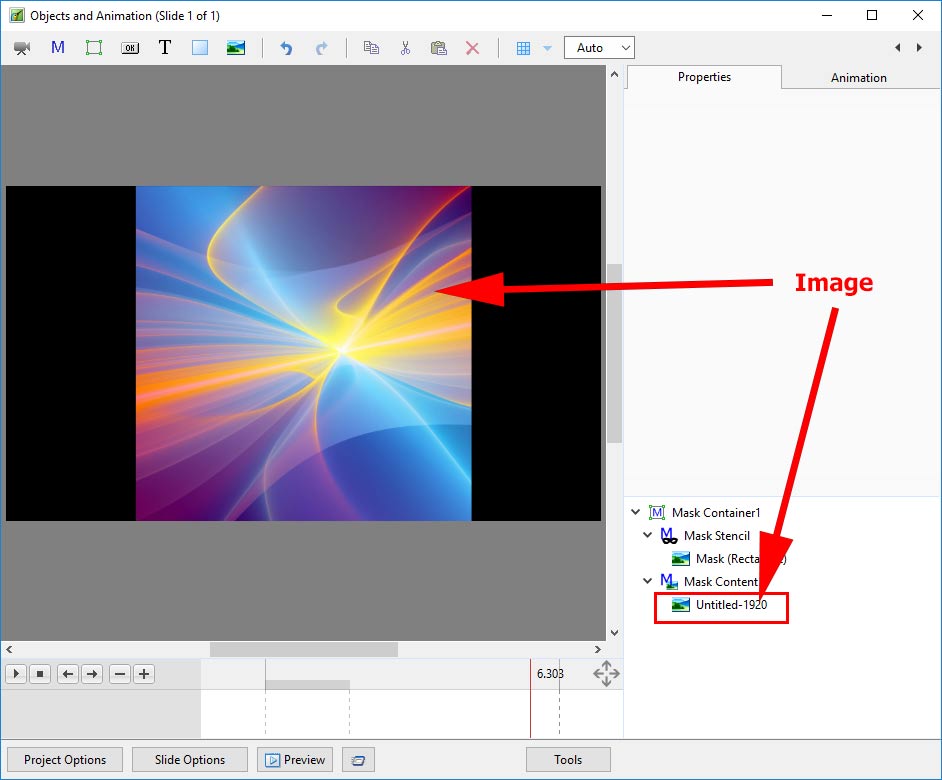
- Right Click on Mask Content and Add / Image
- You can then add Animation to the Image within the Mask
- You can Zoom, Pan etc the Mask Container
Add a Blank Mask
- You can add a Blank Mask to add your own Image as a Mask
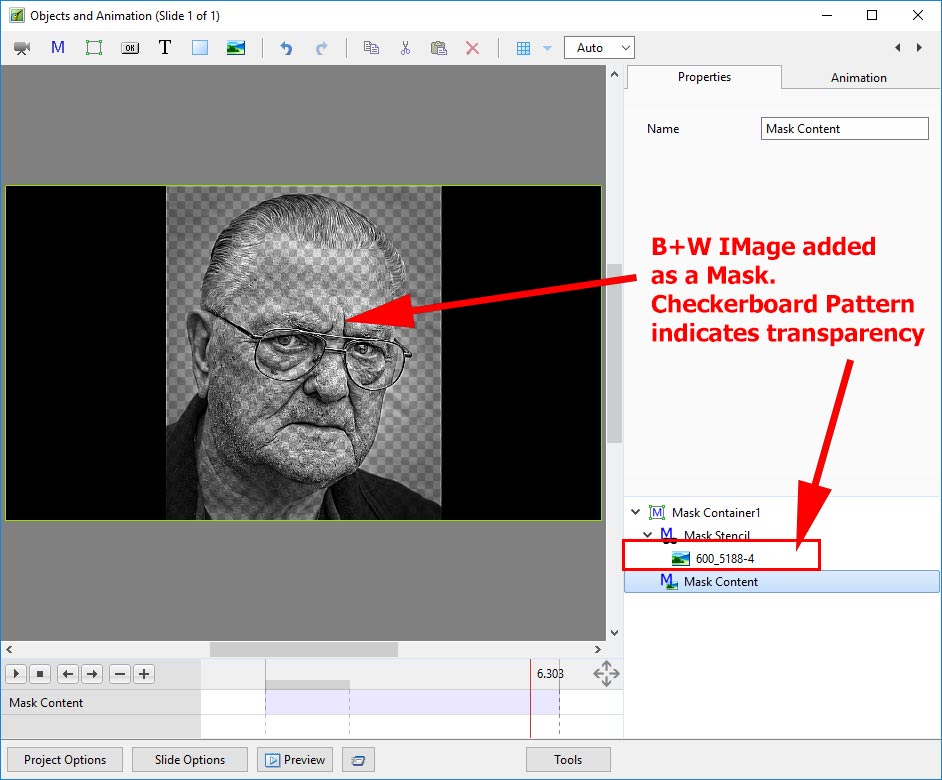
- Add an Image as a Mask
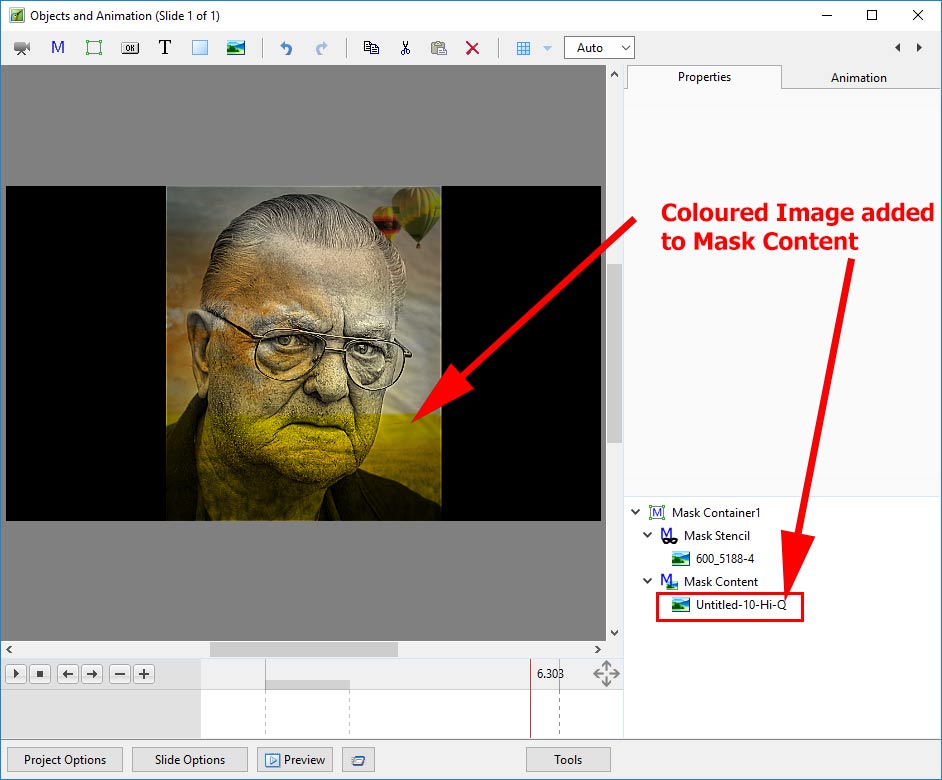
- Add an Image as Mask Content
The MASK can be a Preset Template Mask or an Image or Video.
Template
In the Template section choose either Circle or Rectangle for Style.
Size and Width of Blur can be adjusted for a circular mask. If a rectangular mask is chosen the addition Corner Radius is available. Clicking on the button between the Horizontal and Vertical parameters in “Size in Pixels” allows an elliptical / oval mask to be created. Click on OK.
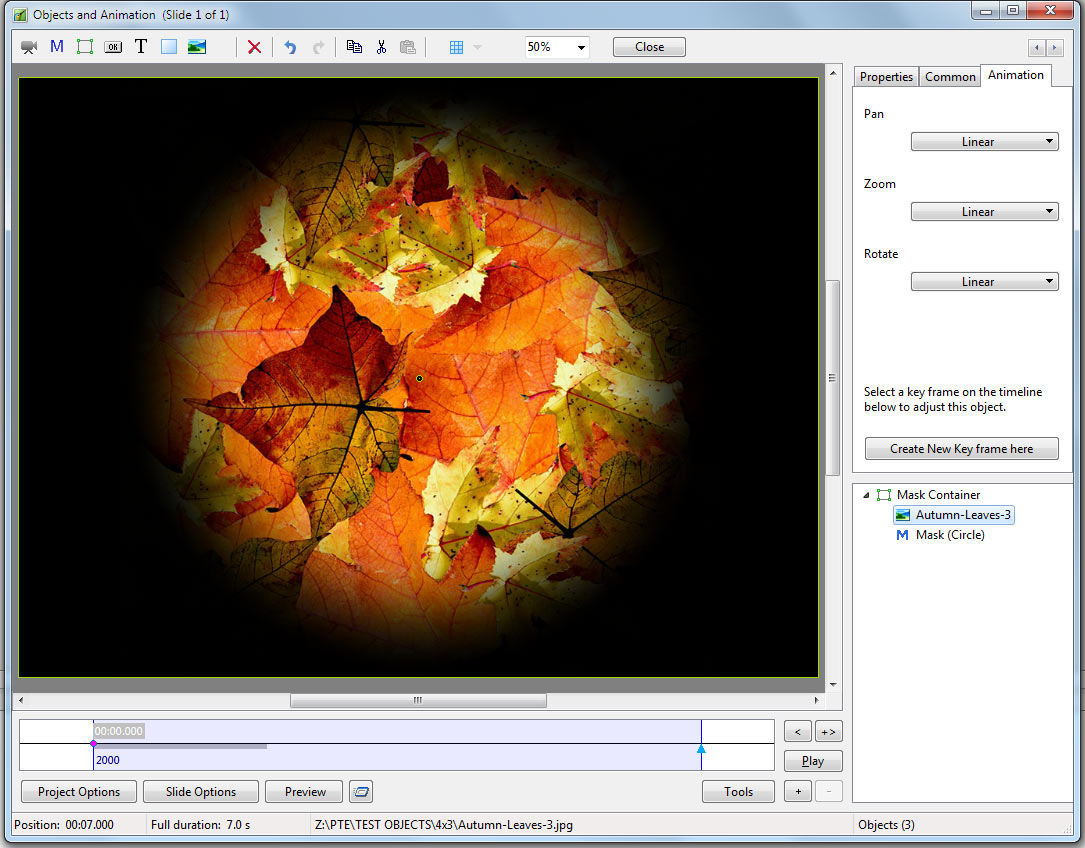
You can now add an image to the Mask Container. The mask allows the portion inside the circle to be seen.
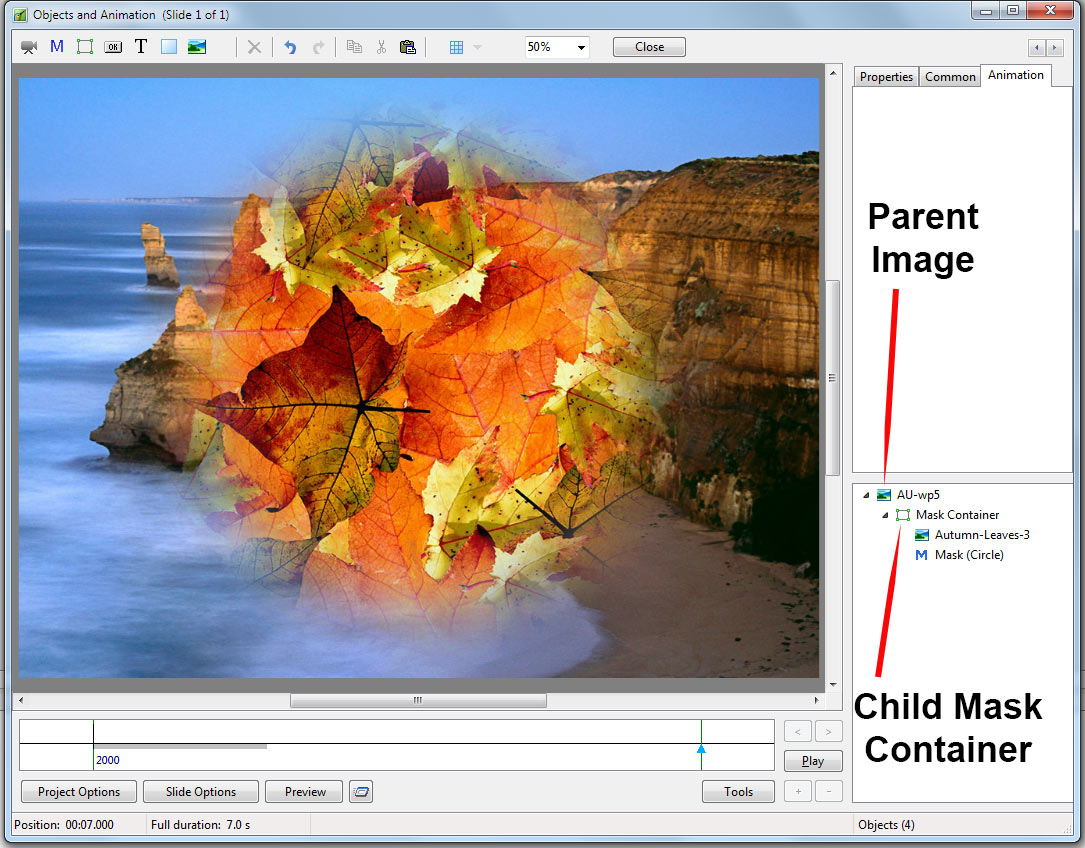
If the Mask Container is added to an Image (as a Child) then the Mask allows you to see through the Parent Image to the image contained in the Mask.
The Size and Appearance of the Mask Container, the Mask and the contained Image can be adjusted per Key Frame.
Image or Video
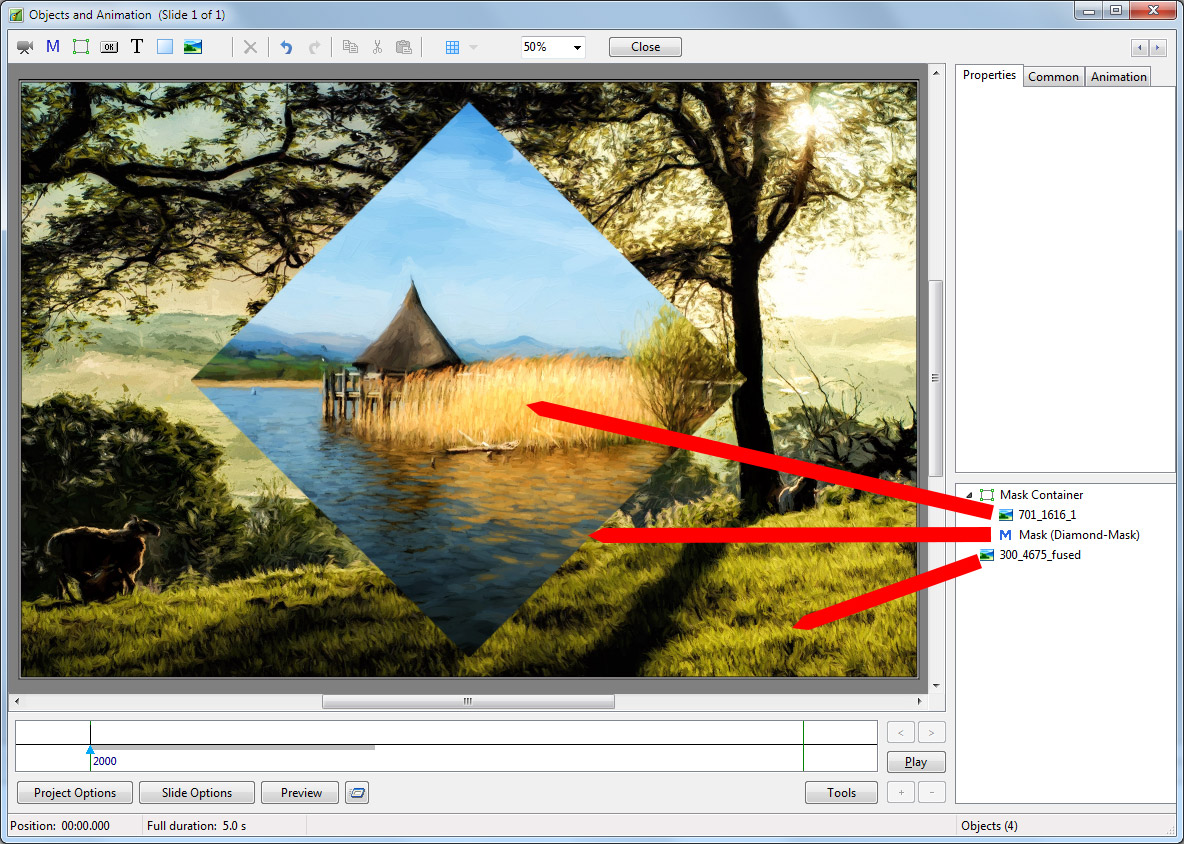
You can also create a mask in an external editor and use that in place of the Template version.
The “Image Mask” should be “white and black” or or “white and transparent”.
In the example below a white diamond shaped transparent png has been used.
See "Create a Simple Pan" for an example of basic Key Frames.
