Table of Contents
Properties Tab
* The “Properties” tab is shown below.
- This is used to control and adjust the properties of objects inserted into the Editor window.
- Objects can be inserted using the menu toolbar at the top left of the window.
- The actual parameters shown in this tab vary depending on the type of object selected, e.g. images, buttons, rectangles, text.
- Name: This contains the name of the selected object which can be changed to more readily identify an object
- Picture: This is the file name and location of the selected object. An alternative object (with the same properties, key frames etc) can be selected by changing the object address
- Sharper(-)/Smoother(+):Th default value is -100
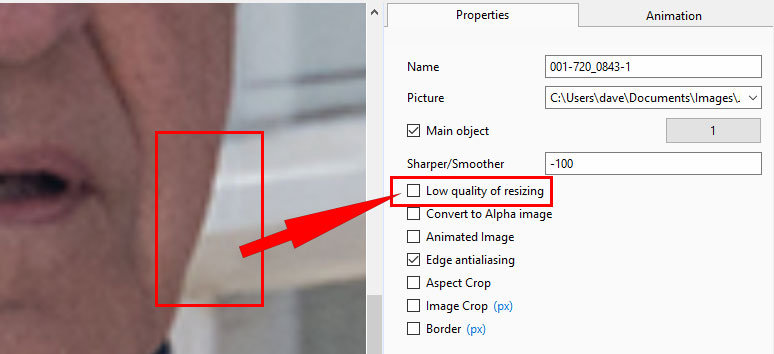
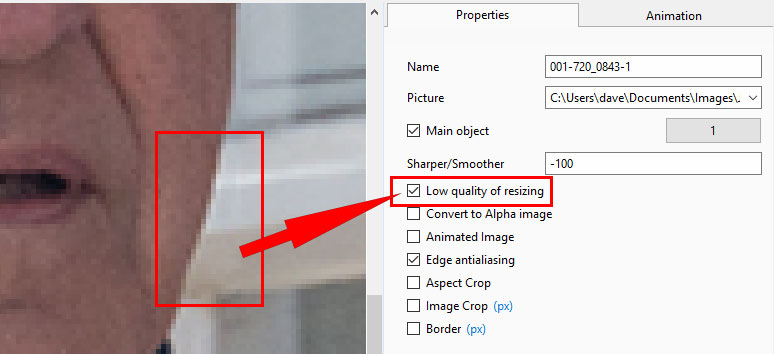
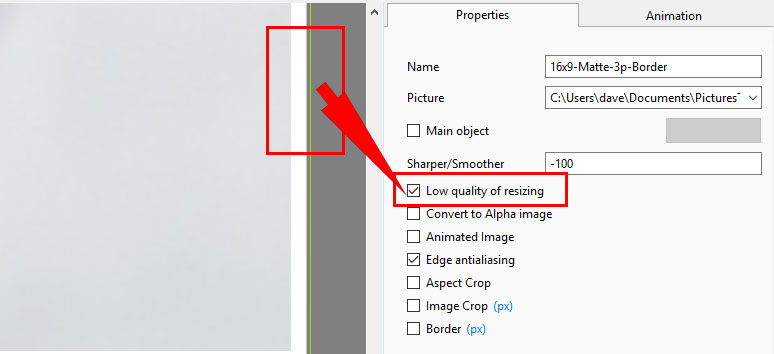
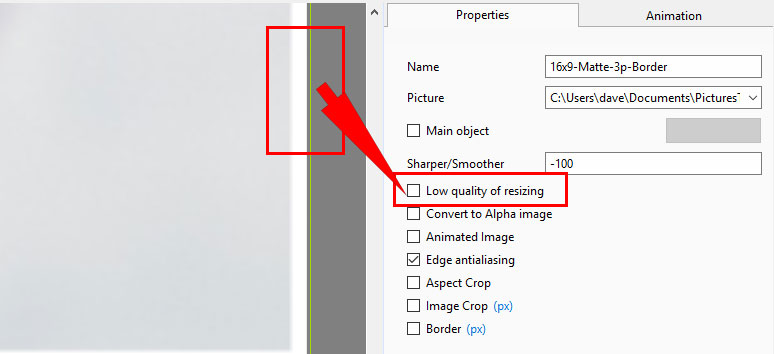
- Low quality of resizing: Affects the quality of the object
- Convert to Alpha image: See the section on Masks (Add a Mask Object)
- Animated object: Select for animated png files
- Edge anti-aliasing: Used to give a smoother object appearance
- Aspect Ratio: Provides a choice of aspect ratio -16:9/16:10/3:2/4:3/5:4/1:1
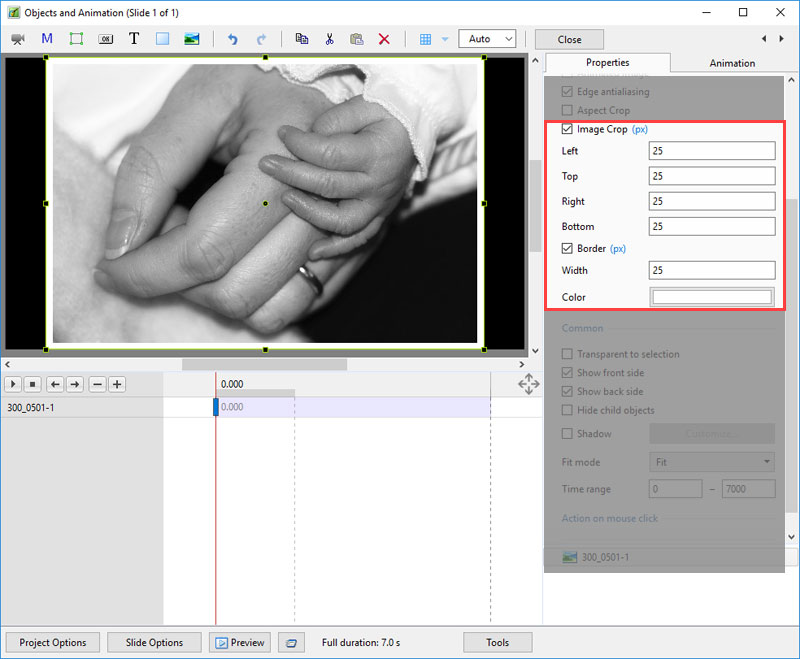
- Image Crop: Enables the top, bottom, right, or left sides of the object to be cropped
- Border: Enables a border to be placed around an object and the color to be chosen
Low Quality of Resizing Examples
- Using this Control with Images which have been zoomed:
- At 100% (original Pixels) the effect is that of slight sharpening the image
- At higher percentages the effect is that shown above
- And with Borders made in an External Editor etc
Image Crop and Border
Common
- Transparent to selection: Prevents inadvertent selection of an object with the Mouse
- Show front side: In 3D animation determines if the front of the object is seen
- Show back side: In 3D animation determines if the back of the object is seen
- Hide Child objects: Will hide any objects inserted as a Child of a main object when “Show Front and Back Sides” are both UNTICKED
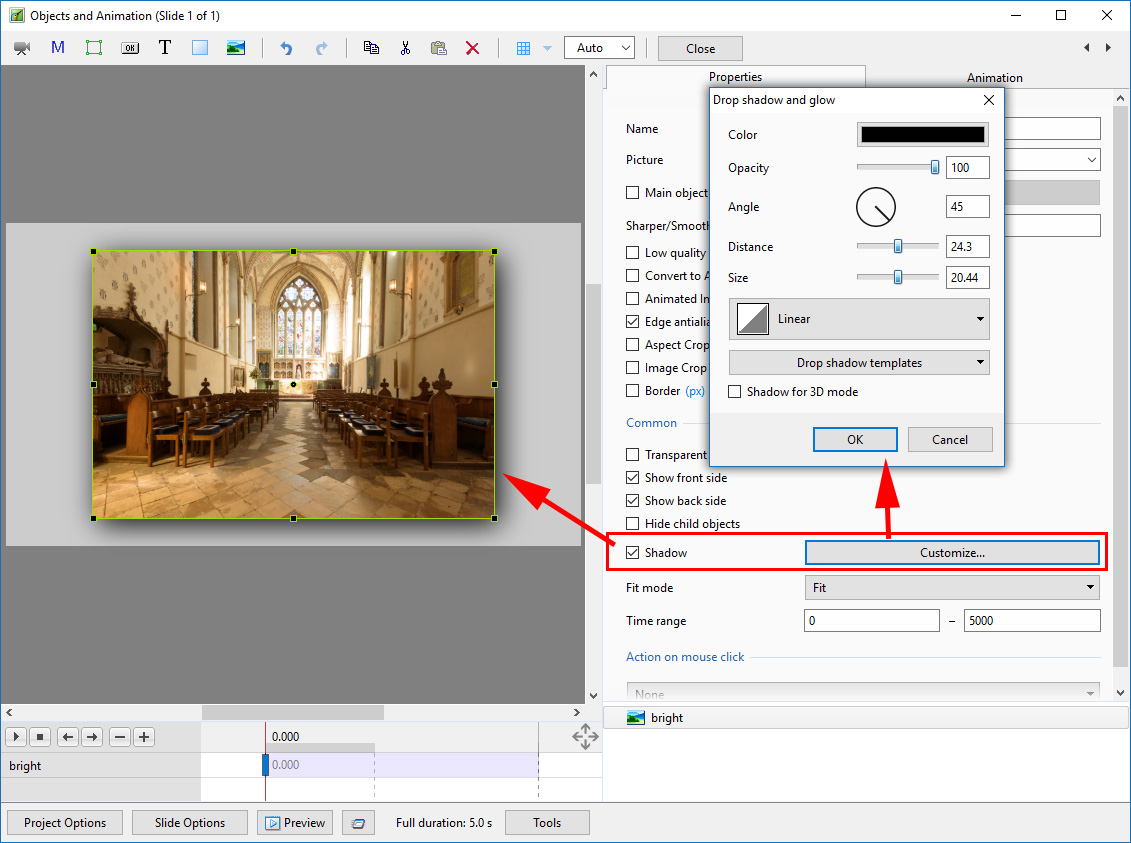
- Shadow: Enables a shadow to be applied to an object
- Fit Mode: Choose from “Fit” or “Cover”
- Time Range: This box shows the time range for the Slide from the start to the end of the next slide transition
Action on Mouse Click
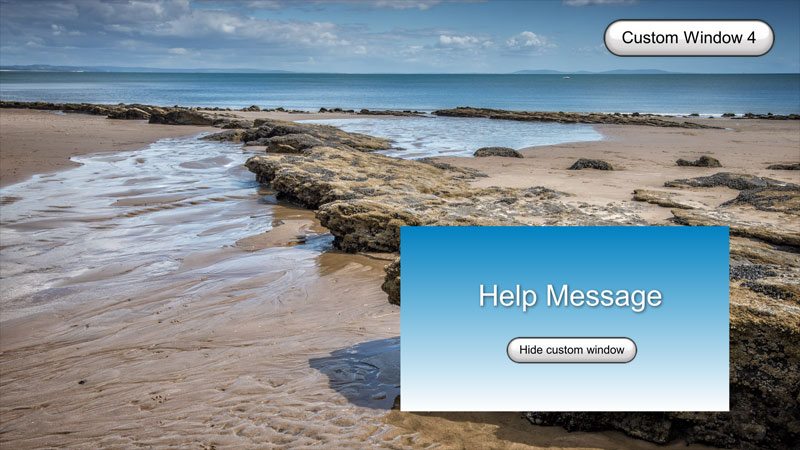
Display a Custom Window
- In Objects and Animation add a Button (The Button can be made Transparent by changing its Opacity in the Animation Tab if required)
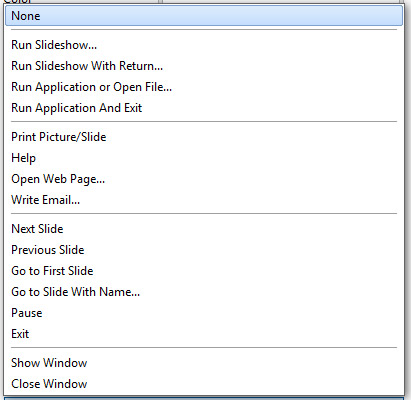
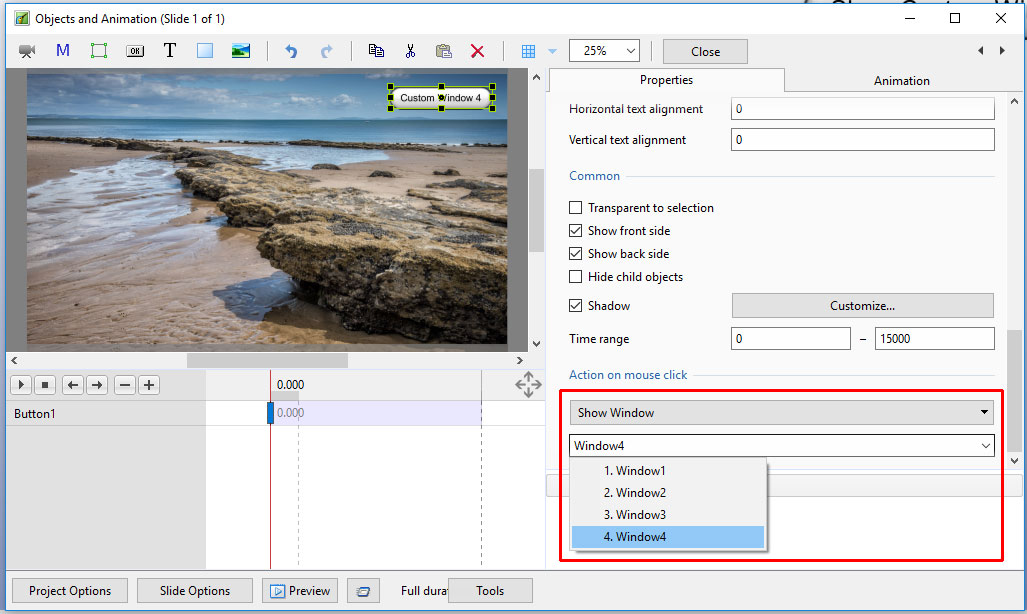
- In “Action on Mouse Click” click on the Button and choose “Show Window”
- From the Drop down Menu choose the Window to which you want to link
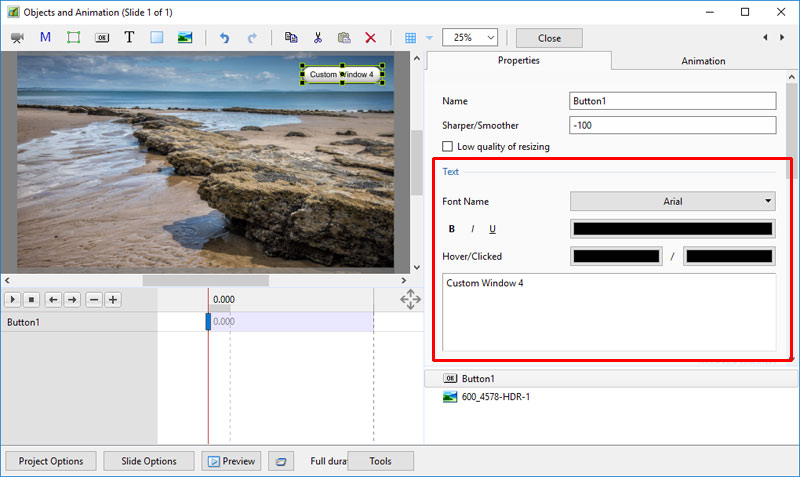
- In Text (for the Button) add the required Text
- In Preview or when the EXE is running clicking on the Button activates the Custom Window
Shadow - Customise Shadow
- Colour and Opacity determine the colour and strength of the shadow
- Angle determines the direction of the shadow
- Distance determines how far away from the object the shadow lies.
- A distance setting of zero produces a Global shadow directly behind the object and therefore on all four sides
- Size determines the “spread” of the shadow
- In the drop-down menu labelled “Linear” are a number of shadow profiles which the user can try for a variety of shadow effects
- Drop Shadow Templates allows the user to Save frequently used shadow profiles
Please go to Project Options for details on Customising the Window Project Options Advanced Tab/Advanced Options
en-us/9.0/objectsandanimation_1/properties_tab.txt · Last modified: by 127.0.0.1

